


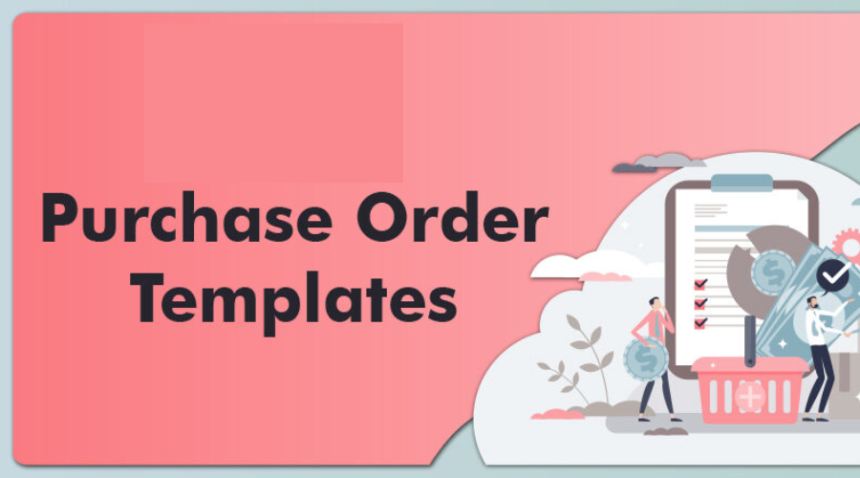
Shopify provides an easy-to-use and customised purchase order template to help you create and manage purchase orders for your online business. Whether you run a small business or a major corporation, this application may help you keep organised and efficient in managing your inventory and supply chain. In this article, we will learn about the purchase order template on Shopify which is a crucial tool for every e-commerce operation. We will look at its capabilities and benefits, as well as how it integrates seamlessly with your complete sales and inventory plan. Prepare to improve your operational efficiency and take another step towards e-commerce proficiency.


Benefits of Purchase Order Template from the Shopify System
Adopting Shopify’s buy-order technology streamlines the entire inventory management process. Here’s how:
1. Ease of use
If you use Shopify, you can make a sample buy order, save it for later, and then either mark it as ordered or let Shopify adjust your incoming inventory accordingly.
2. Real-time updates
The template allows you to alter received inventory in real-time, so if there is a disparity during delivery, you may update your stock levels right away.
3. Streamlined Supplier Interaction
When you edit supplier data on Shopify, they are automatically updated across all previous purchase orders, guaranteeing consistent communication and fewer mistakes.
4. Simplified Document Access
Download purchase order templates as PDFs to send to your suppliers, creating a digital paper trail that is simple to trace and manage.
Steps to Edit Templates with Shopify
Here are a few steps in which you can create a purchase order template.
Through Desktop
- Navigate to Online Store>themes in the Shopify admin.
- Find the theme you wish to change and then click Customise.
- Choose the template you wish to alter from the Template drop-down menu.
- Clip +Add Section then choose a new section for your template.
- To examine the settings and options for the new section, simply click it.
- Make your modification to the sections or the individual blocks inside it.
- When you are finished with your section, click Save.
Through iPhone
- In the Shopify app, select the … button, and in the sales channels section select Online Store.
- Tap Manage Themes. Find the theme you wish to change, then press Customize.
- Tap Templates. Choose the template you wish to alter from the Template drop-down menu.
- Click + Add Section, then choose a new section for your template.
- To examine the settings and options for the new section, simply click it.
- Make your modifications to the section or the individual blocks inside it.
- When you are finished with your section, click save.
Through Android
- In the Shopify app, select the … button.
- Select Online Store from the list of sales channels.
- Tap Manage Themes.
- Find the theme you wish to change, then press Customize.
- Tap Templates. Choose the template you wish to alter from the template drop-down menu.
- Click the Add section, then choose a new section for your template.
- To examine the settings and options for the new section, simply click it.
- Make your modifications to the section or the individual blocks inside it.
- When you are finished with your section, Click Save.
Edit your own templates easily with Shopify today!
Manage Your Templates Order Templates
To rename or erase a format, utilise the code editor, Altering your layout file may cause inconveniences along with your online store.
1. Rename a Template
- Navigate to Online Store> Themes in the Shopify admin.
- Find the theme with the template you wish to rename, then select the … button> Edit code.
- In the code editor, locate the templates folder. Clicker the name of the template you wish to rename, and then select Rename File.
- Enter the new template name and save by clicking Rename File.
2. Delete a Template
- Delete a template in your Shopify admin, and navigate to Online Store> themes.
- Find the theme from which you wish to remove a template, then click the … button> Edit code.
- In the code Editor, locate the templates folder, Click the name of the template you wish to delete, then choose Delete file.
- If you have allocated resources to that template, they will be displayed alongside the default template until you change it.
How to Max the Best Use of Shopify’s Purchase Oder Template
Shopify provides a free buy-order template that is both time-effective and user-friendly, allowing you to launch your order administration without incurring any additional expenditures, follow these steps to improve the way you manage purchase orders with Shopify’s Tools.
1. Access the purchase order template
You may get the template in Shopify’s free business tools. It’s easy to use and intended to gather all of the information you need for your order.
2. Fill out your company details
To personalise your purchase order templates, include your store’s details, including logo and shipping address.
3. Input Vendor information
Provide accurate supplier information to guarantee a smooth transition from order to delivery.
4. Specify order details
Identify the things you are purchasing including quantities, pricing, and any other product-specific information.
Conclusion
Shopify’s purchase order template is a useful tool for e-commerce firms of all sizes. It streamlines inventory management, improves contact with suppliers, and provides simple access to previous orders. Following the procedures indicated above will allow you to create, amend, and manage your order templates straight from your Shopify admin. Remember to use Shopify’s free template to save time and ensure all relevant information is recorded for each order. With this framework in place, your internet business will run more smoothly and efficiently. So do get advantages of these purchase order templates now!
For more such interesting and useful tips, check out TheWebHunting.